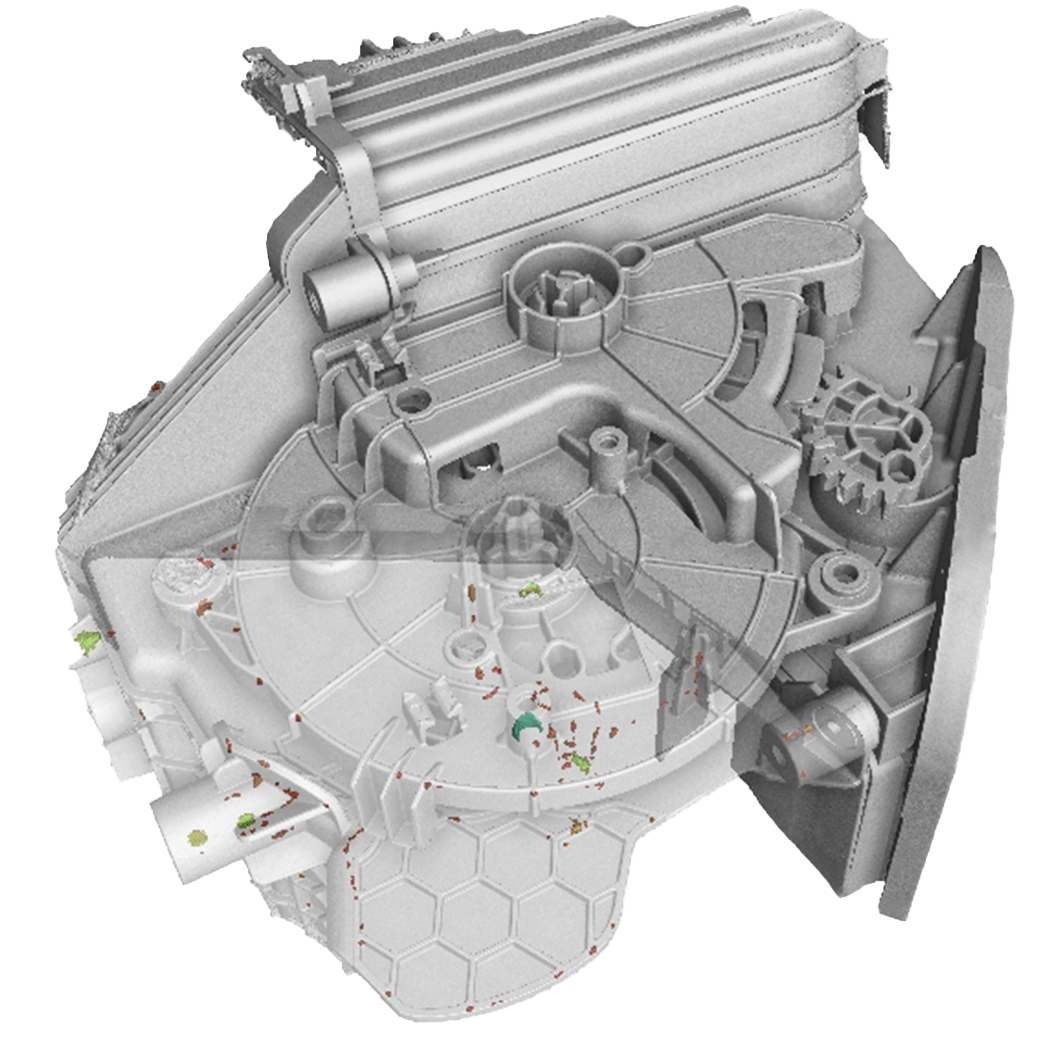
The Role of Plastics in Modern Manufacturing
Plastics play a significant role in our daily lives. Due to their versatility, lightweight nature, and adaptability, they are useful for a wide range of applications – from packaging materials, transportation, and construction to consumer goods. The production of plastics increased exponentially from 1.5 million tonnes in the 1950s to over 350 million tonnes in 2018. [1] Apart from the commodity plastics contributing to 80% of the total plastic consumption worldwide, technical plastics have emerged as a vital material in the industry sector, due to their strength, toughness, stiffness, and good resistance to heat and chemicals. [2]
The overall advantage lies in the ability of plastic materials to be molded into diverse forms. The speed of the molding process enables manufacturing high volumes of the same part – mass production. However, the whole process needs to be verified regularly to maintain the desired product characteristics, especially concerning the geometry, mold shape, or the durability and quality of the material itself to prevent expensive late correction or complaints.
Traditional Quality Control Methods
Several systems and technologies can be employed for quality control. Mechanical testing involves subjecting plastic samples to stress, strain, and impact assessments to evaluate their performance under different conditions. 3D optical scanning systems, usually based on visible light or laser scanning, are employed to analyze the surface quality of products and can produce 3D models of the object. For metrology validations, usually coordinate measuring machines (CMM) are used, based on mechanical touch probes.
However, these traditional testing methods have some serious drawbacks – they are destructive, require pre-processing of the surfaces or whole parts – painting, spraying, disassembly, etc, and focus on one specific aspect of quality control.
X-ray CT in Plastics Manufacturing
X-ray computed tomography (CT) provides several additional huge advantages over these classical methods:
-
- non-destructive analysis,
- no preprocessing needed,
- simultaneous evaluation of internal and external structures,
- complete metrology, dimensional validation and defect detection in a single measurement.
X-ray CT is widely used for dimensional measurement, porosity and inclusion analysis, wall thickness verification, and assembly inspection. These capabilities make it an essential tool for comprehensive quality control in plastics manufacturing.
Metrology/Dimensional measurement
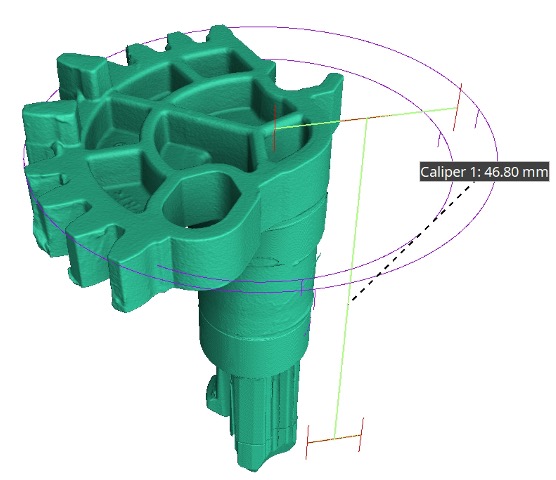
Currently, CT-based metrology is the only technique that can measure both the inner and outer geometry of a component without requiring any cutting. It is also the sole technology capable of measuring and validating internal features in non-accessible areas or validating the dimensions within multi-material components.
Porosity/Inclusion analysis
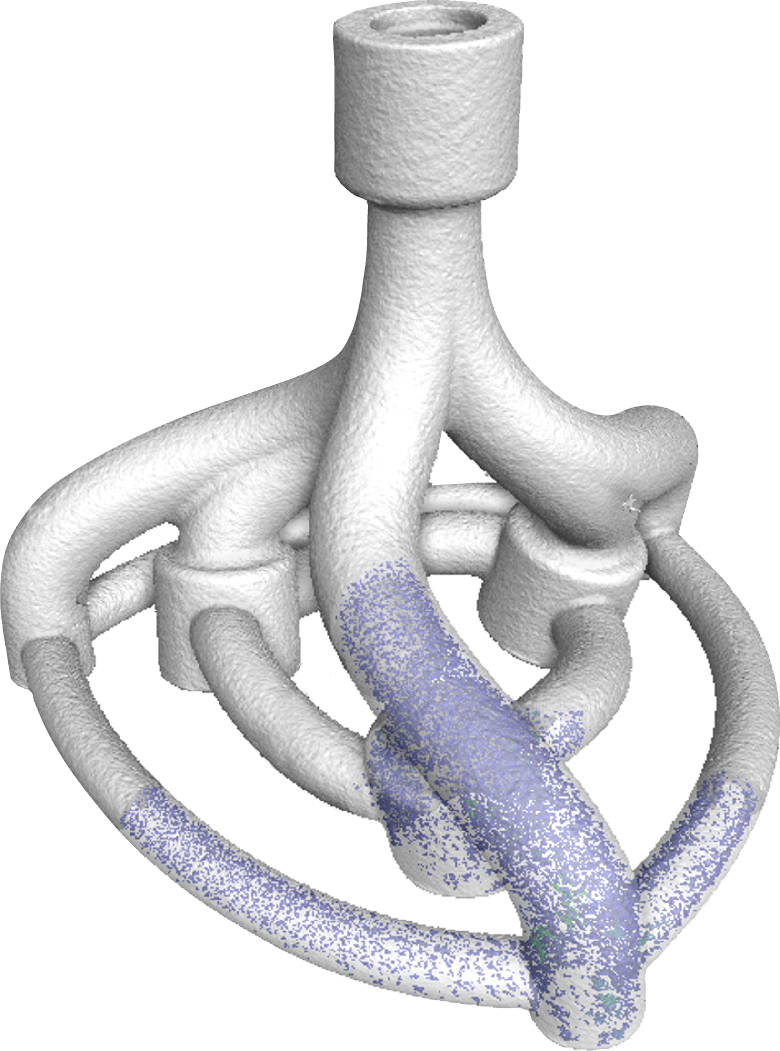
In the context of porosity assessment, X-ray CT technology excels at identifying and quantifying voids, cracks, or other imperfections inside the material that can affect the functionality and integrity of the part. Full 3D visualization allows locating the void precisely within the whole part without the need for any cutting. We can perform analysis according to P201 and P202 industrial standards.
Actual/Nominal comparison
One of the main applications of X-ray CT in plastics manufacturing is the mold correction, and analyses of the deviations of the manufactured product from its 3D model. And according to the deviations, correction processes can be made. This comparison can be utilised among two manufactured parts, master samples, CAD model, after heat treatment, after wear etc.
Wall thickness analysis
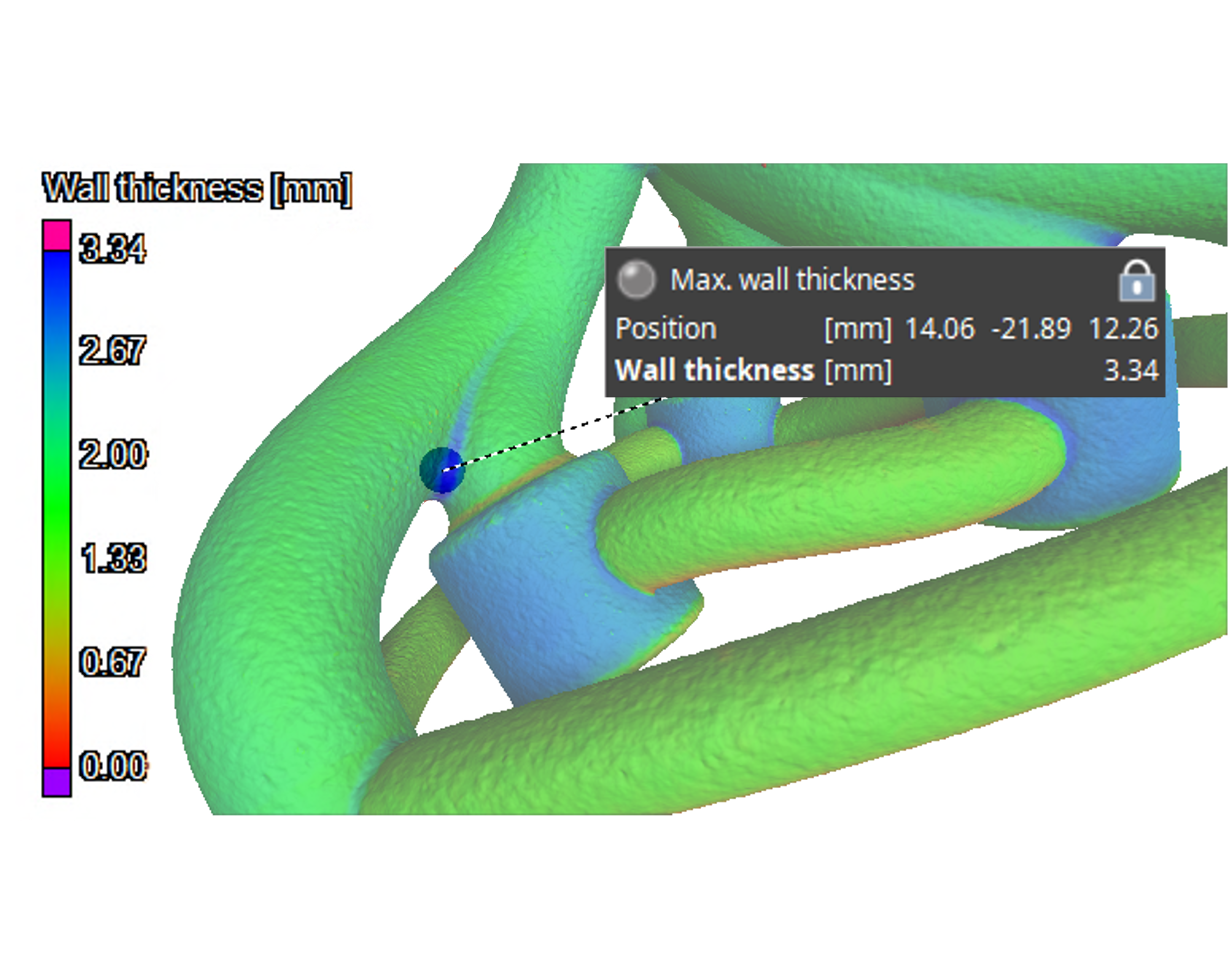
Wall thickness directly influences the structural stability and performance of the product, making it a critical aspect of quality control. Wall thickness analysis possible with X-ray CT involves measuring the thickness of plastic part’s walls to ensure uniformity and compliance with design specifications. Maintaining consistent wall thickness is essential for preventing defects such as warping, sink marks, and structural weaknesses, all of which can compromise the functionality and durability of the plastic product.
Assembly analysis
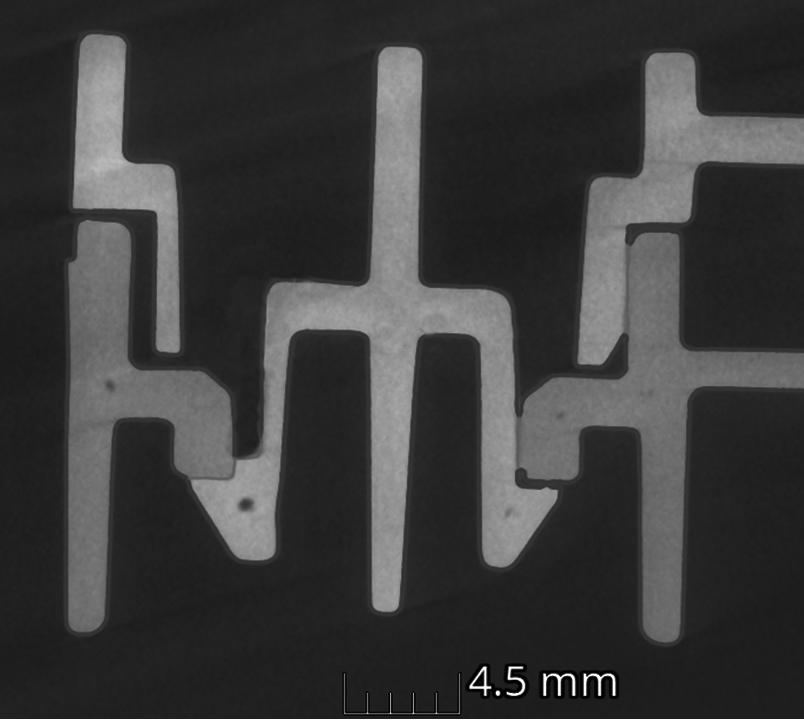
Using X-ray CT, the configurations of various components within the part can be analyzed without disassembly. This allows us to inspect the placement, identify flaws, assess the proper connection of wires, and more. The product can be scanned in its operational state, eliminating the need for any modifications, and enabling the verification of the correct fit of components.
Summary
In conclusion, the integration of X-ray CT technology in the plastic manufacturing industry stands as a transformative tool, revolutionizing the way companies can approach quality control. The ability to non-destructively analyze both the inner and outer geometries of components, along with the inspecting of internal features in multi-material structures, sets CT metrology apart. As industries continue to evolve, CT empowers manufacturers to uphold the highest standards of quality and reliability.
Want to see how X-ray CT can improve quality control in your plastics manufacturing process? Our team at CactuX can help you inspect components. Contact us to discuss your project, schedule a demo, or explore customized testing solutions.
References:
[1] Berry, Kathryn L.E. et al. (2023). Plastics. In: Reichelt-Brushett, A. (eds) Marine Pollution – Monitoring, Management and Mitigation. Springer Textbooks in Earth Sciences, Geography and Environment. Springer, Cham. https://doi.org/10.1007/978-3-031-10127-4_9
[2] Chauhan, Vardaan & Varis, Juha & Kärki, Timo. (2019). The Potential of Reusing Technical Plastics. Procedia Manufacturing. 39. 502-508. 10.1016/j.promfg.2020.01.407.