Conducting measurements via Computed Tomography (CT) imaging, especially nanoCT does not come easily. There are many factors influencing a CT measurement causing measurement uncertainty, and they are challenging to overcome. To achieve accurate precision results and their correct interpretation, techniques and tools are now available to help. We picked three areas in which you can improve your submicron data visualization and analysis and how.
Increase reliability of your CT measurement results with metrological calibration
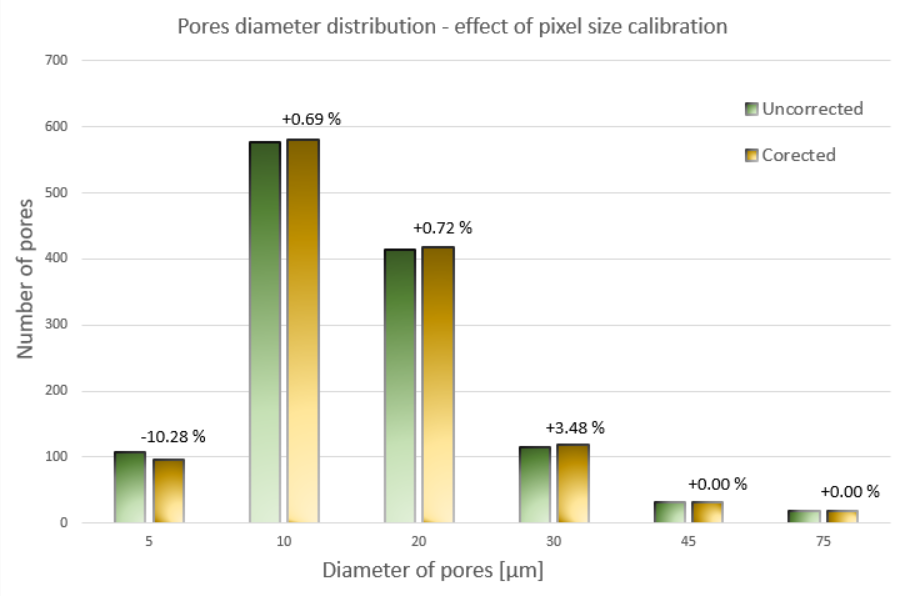
With voxel size calibration, an accurate measurement of the voxel size is achieved. However, if you want to measure the voxel size and you are working in the strictest Field of View (FOV) limits, our phantom Voxel-Spirit is a suitable tool for you. Designed to meet high precision requirements and allows intuitive submicron CT calibration in reduced time. The difference of your measurement before and after calibration can play a significant role, whether you operate in the field of pharmacy, microelectronics, or academia. For example, for optimisation of the production process and interpreting the results of your CT measurement.
Verify, analyze and compare CT systems’ properties
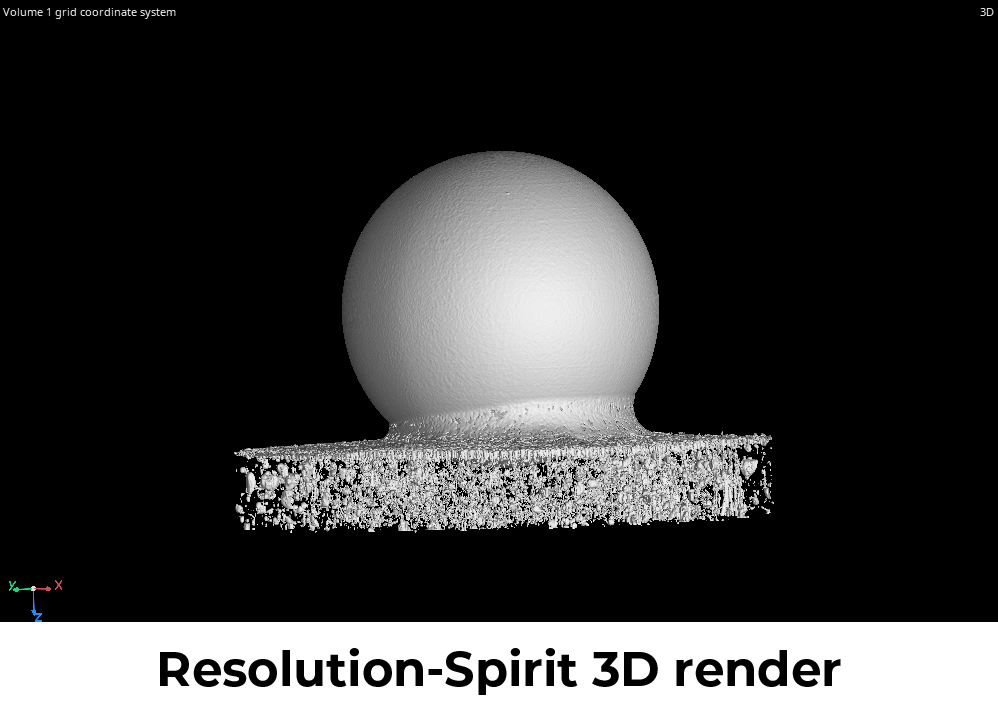
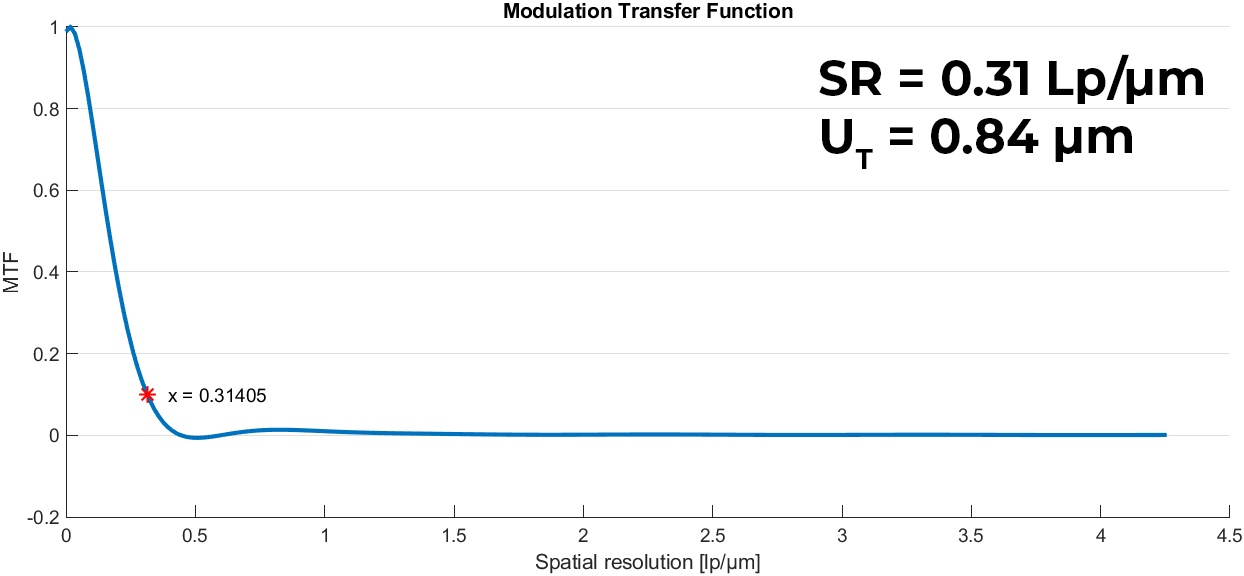
This step is essential when purchasing a CT system as well as during the time you’re using one. Purchases like this are usually very expensive. However, each buyer may have different requirements for CTs` characteristics according to his/her area of interest. But the utility of high resolution CT systems in quantitative analysis might be often limited, as their true characteristics (especially the spatial resolution) are often unknown and dependent on the exact acquisition conditions. A set of universal CT phantoms Resolution-Spirit can help you decide between several CT systems. Estimate CTs’ spatial resolution. This microCT and nanoCT phantom meets ASTM E1695-95 standard and suits variable FOV limits. Improve your decision-making process through CT system characterization with Resolution-Spirit.
On the other hand, if you are a long term CT user, it is as important to verify your CT’s characteristics. Monitor your CT`s capabilities in time, therefore verify your measurements’ accuracy. Resolution-Spirit gives you an opportunity to recognise accuracy problems, such as geometric unsharpness, and to analyze them.
Reduce CT artifacts and geometric misalignment, improve the quality of the resulting CT data
One of the most common shortcomings in the analysis of microCT and nanoCT data is data inaccuracy due to the geometrical misalignment and the positional instabilities of system components. Some of these imperfections can be removed by attaching fiducial markers to the sample. R1-Shadow is a sample holder with built-in fiducial marker. This holder allows quick and intuitive correction of rotational misalignments and registration of CT data for applications such as dual-energy CT or 4D CT. It is suitable for use with variable FOV limits and high accuracy requirements. With R1-Shadow phantoms complemented by software, you can enhance the quality of the resulting CT data.

Accessories
In addition to our CT Phantoms, we offer a variety of X-ray CT accessories for use in both industrial and laboratory settings. These include Wireless Motorized Translation Stages (you can read about them in our previous article here) and Magnetic Adapters, CT Hedgehogs for custom foam holders fixation, Rod Holder for cylindrical samples and Essential Toolkit NANO for nano CT.
We are dedicated to finding the best solution for your micro CT and nano CT analysis. Step closer to The CT analysis automation. Contact us!


